IKEA MAMMUT children's table assembly instructions
How to assemble the IKEA MAMMUT children's table, step by step: 6 animated steps built from the official manual, about 10 min for 1 person, no tools needed.
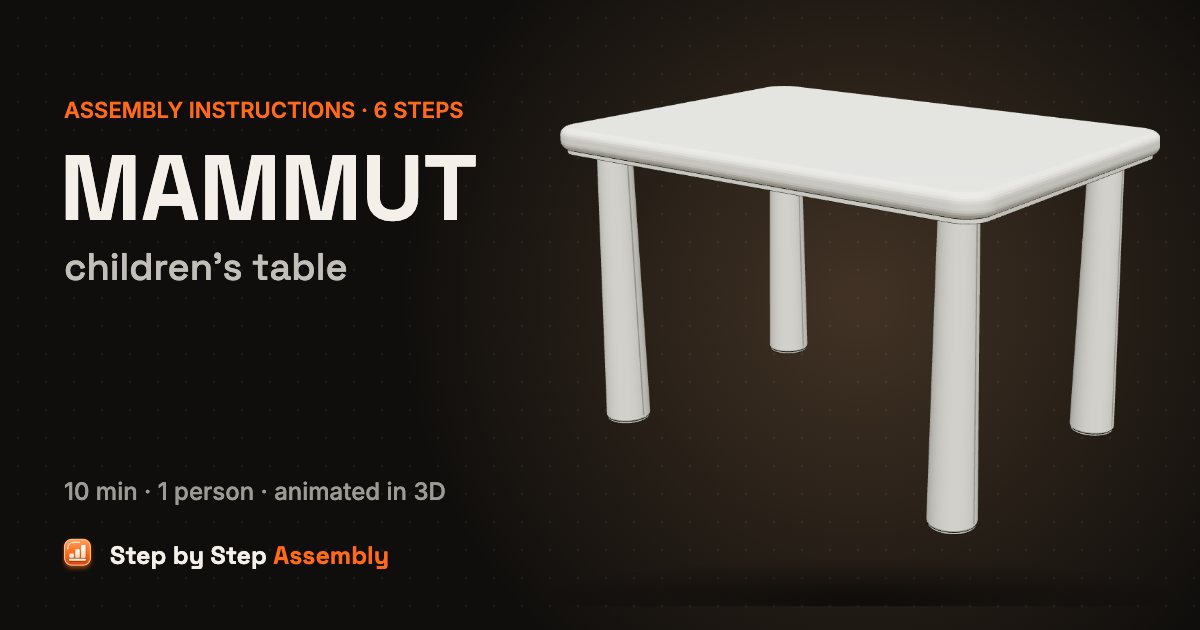
A sturdy moulded-plastic children's table for indoors or out: four legs screw into the top by hand, no tools needed. Size: 77×55 cm, 48 cm high. About 10 min, 1 person. Tools: No tools.
Based on the official IKEA manual AA-263648-5 (PDF). Guide updated .
| Steps | 6 |
|---|---|
| Time | 10 min |
| People | 1 |
| Tools | No tools |
| Size | 77×55 cm, 48 cm high |
| Official manual | AA-263648-5 |
| IKEA article number | 503.651.77 (white) |
| Pieces in the box | 13 |
In the box
| Part | Part number | Quantity |
|---|---|---|
| Table top | 1 | |
| Leg | 4 | |
| Double-ended screw | 115908 | 4 |
| Foot cap | 4 |
Steps
- Screw a double-ended screw into each leg — Stand the four legs on their feet. Take a double-ended screw (115908) and turn it clockwise by hand into the hole in the top of a leg, until its hexagon collar sits on the leg. Do the same with the other three legs. Check: Stop when the collar rests on the leg: the other half of the screw must stick out.
- Screw the first leg into the top — Lay the table top upside down on a rug. Turn a leg over and set the end of its screw in the hole at one corner of the underside. Turn the whole leg clockwise by hand until it sits tight against the top. Check: Work on a rug or another soft surface so the top does not get scratched.
- Screw in the other three legs — Fit the other three legs the same way: turn each one over, set its screw in a corner hole and turn the leg clockwise until it is tight against the top. Check: Tighten by hand only.
- Press a cap into each foot — The feet of the legs are open. Press a cap firmly into the end of each leg until its rim sits on the foot.
- Turn the table over — Turn the table over and stand it on its four feet.
- Done! — Your MAMMUT table is ready, indoors or outdoors. Now and then check that the legs are still screwed in tight, and tighten them by hand if needed.
MAMMUT children's table: questions and answers
How long does it take to assemble the IKEA MAMMUT children's table?
About 10 min for 1 person, working through the 6 steps of this guide. Unpack and sort the hardware first: the In the box list has every part with its count, so you can check nothing is missing before you start.
What tools do I need for the MAMMUT children's table?
No tools. Everything fits together by hand.
Can one person assemble the MAMMUT children's table?
Yes, it is a one-person build.
What size is the MAMMUT children's table once assembled?
77×55 cm, 48 cm high, as given for this model. Leave extra floor space around it while you build.
Where can I download the IKEA MAMMUT children's table assembly instructions PDF?
The official PDF is manual AA-263648-5, free from ikea.com; this guide links it next to the steps. To find the product page with its documents, search ikea.com for article number 503.651.77 (white); other colours have their own numbers but usually the same manual.
Which IKEA manual is this guide based on?
The official manual AA-263648-5. Manuals and fittings change over time, so compare this code with the one printed on your paper manual. If they differ, follow your paper manual.
What if a part or screw is missing?
Check every box and all the packaging first: small fittings are often taped inside. Each fitting in the In the box list has its IKEA part number (for example double-ended screw 115908). IKEA customer service can send replacement fittings using that number.
Related assembly guides
- IKEA MAMMUT children's stool assembly instructions
- IKEA MAMMUT children's chair assembly instructions
- IKEA FLISAT children's table assembly instructions
- IKEA SNIGLAR changing table assembly instructions
- IKEA GULLIVER changing table assembly instructions
- IKEA RESÖ children's picnic table assembly instructions
- IKEA UTTER children's table assembly instructions
All IKEA MAMMUT assembly guides · All kids assembly guides · All furniture assembly guides
Stuck on a step? Common assembly problems and fixes · Furniture hardware explained