IKEA OLSERÖD side table assembly instructions
How to assemble the IKEA OLSERÖD side table, step by step: 19 animated steps built from the official manual, about 30 min for 1 person, with Phillips screwdriver, hex key 100001 (included).
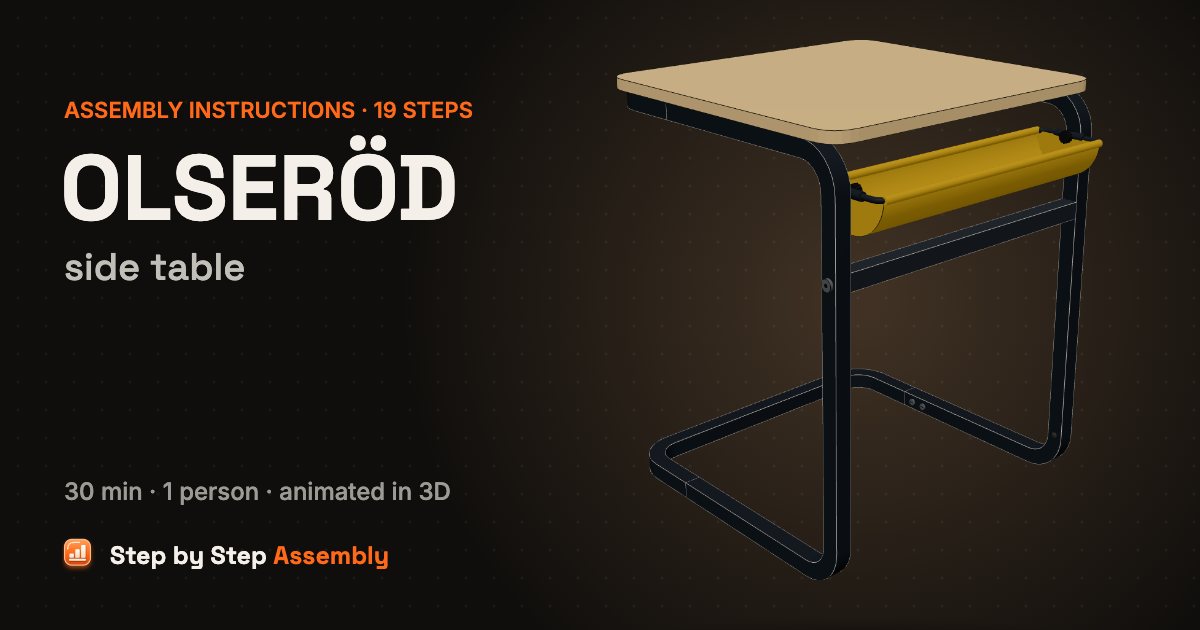
A C-shaped sofa table in anthracite steel tube with a birch-effect top and a dark yellow fabric pocket: four tubes screw into one loop, the top clips on, and it can also be set up as a low table. Size: 53x50 cm. About 30 min, 1 person. Tools: Phillips screwdriver, Hex key 100001 (included).
Based on the official IKEA manual AA-2544531-1 (PDF). Guide updated .
| Steps | 19 |
|---|---|
| Time | 30 min |
| People | 1 |
| Tools | Phillips screwdriver, Hex key 100001 (included) |
| Size | 53x50 cm |
| Official manual | AA-2544531-1 |
| IKEA article number | 205.253.56 |
| Pieces in the box | 61 |
In the box
| Part | Part number | Quantity |
|---|---|---|
| U-shaped tube | 2 | |
| U-shaped bow | 2 | |
| Crossbar | 1 | |
| Pocket frame | 1 | |
| Fabric pocket | 1 | |
| Table top | 1 | |
| Bracket | 10094827 | 4 |
| Screw | 107616 | 8 |
| Screw | 10092086 | 8 |
| Bolt | 131996 | 2 |
| Thumb screw | 195312 | 2 |
| Bushing | 10091763 | 2 |
| Plug | 10005471 | 12 |
| Pin | 10005485 | 12 |
| Pad sheet | 194765 | 2 |
| Hex key | 100001 | 1 |
Steps
- Bushings into the pocket frame — Lay the wire pocket frame flat. Push a plastic bushing (10091763) into the hole in the sleeve at each short end, from the outside, until its collar sits against the sleeve.
- Lay out the two U-shaped tubes — Lay both U-shaped tubes on the floor with their arms pointing up, side by side. Turn them so the holes in the long bottom bars face each other, as in the close-ups.
- Hang the pocket frame between them — Put the pocket frame flat between the long bars, at the ends with the small holes. Push a thumb screw (195312) from inside the frame through each bushing into the hole in the tube and turn it clockwise by hand.
- Crossbar with 2 bolts — Lower the crossbar between the long bars, next to the pocket frame. Fix each end with a bolt (131996) through the outside of the tube, tightened clockwise with the hex key (100001).
- First bow onto the far arm ends — Push a U-shaped bow onto the two arm ends furthest from the pocket frame, all the way down. Its oval holes must face up; no round hole may show on the side.
- Second bow onto the other arm ends — Push the second bow onto the two arm ends at the pocket frame end, again with the oval holes facing up and no round hole on the side.
- Screw the 4 joints — Fix each joint with 2 screws (10092086) from the inside of the frame, turning clockwise with a Phillips screwdriver. Use these screws here, not the similar 107616 ones from the other bag.
- 12 plugs and pins, then turn it over — Press a plug (10005471) into each of the 12 small holes in the tubes and push a pin (10005485) firmly into each plug. Then turn the frame upside down, the pocket frame end at the bottom.
- Table top face down, 4 pads — Lay the table top face down on a rug or the flattened box. Next to each group of 2 small holes, stick on one pad from the pad sheets (194765), 4 pads in all. Check: Work on a soft surface so the top does not get scratched.
- Frame onto the table top — Lift the frame, still upside down, onto the table top so the bow rests on the pads. Line up the outer edges of the tubes with the edges of the top on all sides.
- Brackets with loose screws — Place the 4 brackets (10094827) over the pairs of holes, hooks against the tube. Drive 2 screws (107616) into each, not fully tight: leave a small gap under the heads. Then slide each bracket until its hook presses against the tube.
- Tighten, then turn the table over — Keep each bracket pressed against the tube and tighten its 2 screws with the Phillips screwdriver. Then lift the table off the rug and turn it the right way up.
- Swing the pocket frame out — Swing the pocket frame outward and down on its two thumb screws until it sticks out level behind the uprights.
- Fit the fabric pocket — Hang the fabric pocket in the frame. Fold its edges over the wire bars and press the hook-and-loop strips together so it holds tight.
- Low table (optional): lift off the top — Steps 15-17 turn OLSERÖD into a low table (manual page 13). Press the 2 clips next to the uprights away from the tube and lift the top straight off. Keep it aside.
- Low table (optional): turn the frame — Tip the frame onto its two front bars so the uprights lie level on top. Swing the pocket down between the uprights so it hangs underneath.
- Low table (optional): top on the uprights — Lay the top on the uprights with the 2 fixed hooks over the crossbar, then press it down until the 2 clips snap over the pins on the uprights.
- Back to the side table — To use it as a side table again, do steps 15-17 the other way round: lift off the top, swing the pocket up, stand the frame on its base bow and clip the top back onto the top bow.
- Done! — Your OLSERÖD side table is ready: slide its base under the sofa so the top reaches over the seat. Max load 15 kg on the top and 2 kg in the pocket. Do not sit or stand on it.
OLSERÖD side table: questions and answers
How long does it take to assemble the IKEA OLSERÖD side table?
About 30 min for 1 person, working through the 19 steps of this guide. Unpack and sort the hardware first: the In the box list has every part with its count, so you can check nothing is missing before you start.
What tools do I need for the OLSERÖD side table?
Phillips screwdriver, hex key 100001 (included). Already in the box: Hex key 100001.
Can one person assemble the OLSERÖD side table?
Yes, it is a one-person build.
What size is the OLSERÖD side table once assembled?
53x50 cm, as given for this model. Leave extra floor space around it while you build.
How many screws and fittings come with the OLSERÖD side table?
53 fittings of 10 kinds, the most numerous being 12 × plug, 12 × pin, 8 × screw. The In the box table lists every one with its part number, so you can count them before you start.
Where can I download the IKEA OLSERÖD side table assembly instructions PDF?
The official PDF is manual AA-2544531-1, free from ikea.com; this guide links it next to the steps. To find the product page with its documents, search ikea.com for article number 205.253.56; other colours have their own numbers but usually the same manual.
Which IKEA manual is this guide based on?
The official manual AA-2544531-1. Manuals and fittings change over time, so compare this code with the one printed on your paper manual. If they differ, follow your paper manual.
What if a part or screw is missing?
Check every box and all the packaging first: small fittings are often taped inside. Each fitting in the In the box list has its IKEA part number (for example bracket 10094827). IKEA customer service can send replacement fittings using that number.
Related assembly guides
- IKEA LACK side table assembly instructions
- IKEA LACK coffee table assembly instructions
- IKEA NORDEN gateleg table assembly instructions
- IKEA KVISTBRO storage table assembly instructions
- IKEA LISABO table assembly instructions
- IKEA TÄRNÖ table, outdoor assembly instructions
- IKEA TINGBY side table on castors assembly instructions
- IKEA BURVIK side table assembly instructions
All tables assembly guides · All furniture assembly guides
Stuck on a step? Common assembly problems and fixes · Furniture hardware explained