IKEA STIG bar stool with backrest assembly instructions
How to assemble the IKEA STIG bar stool with backrest, step by step: 17 animated steps built from the official manual, about 25–35 min for 1 person, with Allen key (included), Phillips screwdriver, adjustable spanner.
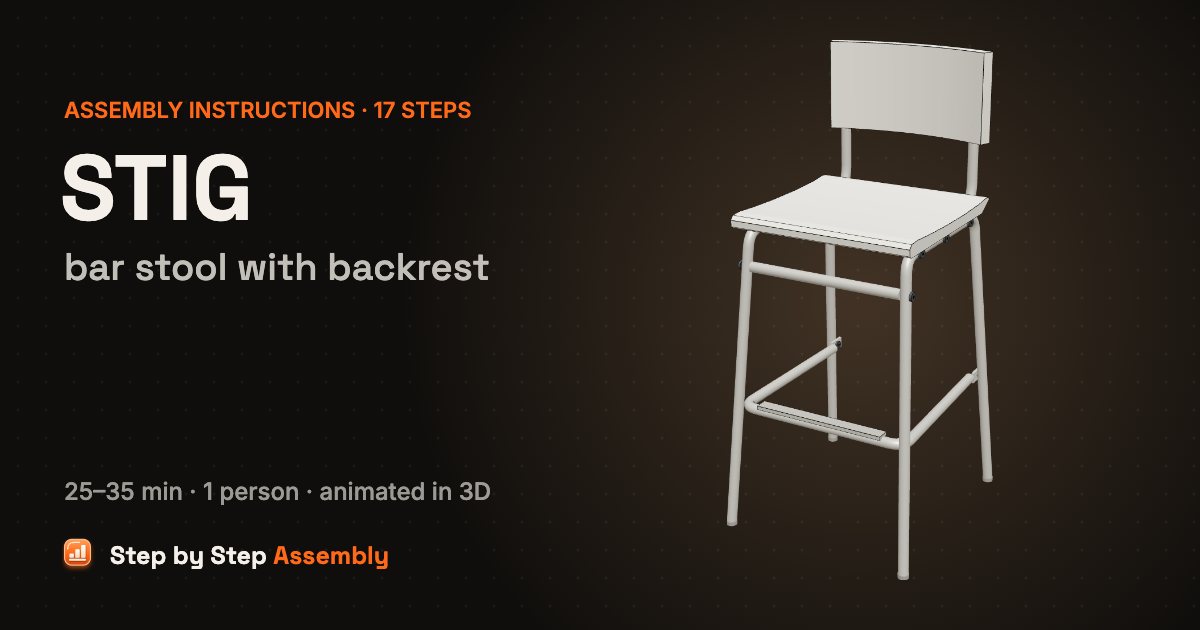
A white steel-tube counter stool: two leg frames joined by rails, a backrest on two tubes, a footrest, and a moulded seat that clicks on. Size: 40×42 cm, seat height 63 cm, 90 cm high (15 3/4×16 1/2", seat 24 3/4", 35 3/8" high). About 25–35 min, 1 person. Tools: Allen key (included), Phillips screwdriver, Adjustable spanner.
Based on the official IKEA manual AA-2236505-3 (PDF). Guide updated .
| Steps | 17 |
|---|---|
| Time | 25–35 min |
| People | 1 |
| Tools | Allen key (included), Phillips screwdriver, Adjustable spanner |
| Size | 40×42 cm, seat height 63 cm, 90 cm high (15 3/4×16 1/2", seat 24 3/4", 35 3/8" high) |
| Official manual | AA-2236505-3 |
| IKEA article number | 806.524.31 |
| Pieces in the box | 27 |
In the box
| Part | Part number | Quantity |
|---|---|---|
| Leg frame (U-shaped) | 2 | |
| Top rail (1 dot, straight) | 1 | |
| Back rail (2 dots) | 1 | |
| Lower front rail (3 dots) | 1 | |
| Backrest tube | 2 | |
| Backrest | 1 | |
| Footrest | 1 | |
| Seat | 1 | |
| Screw | 105107 | 6 |
| Bolt | 105105 | 2 |
| Nut | 100716 | 2 |
| Screw | 107399 | 2 |
| Screw | 120926 | 2 |
| Countersunk screw | 117626 | 2 |
| Allen key | 100092 | 1 |
Steps
- Fix the top rail to the right leg frame — Stand the right leg frame on its feet. Find the straight top rail with one dot and hold its end inside the frame's front corner. Turn a screw 105107 in from the outside, by hand only. Check: Three rails look alike: count the dots. Leave all screws loose until step 13.
- Add the left leg frame — Bring the left leg frame up to the free end of the top rail, front corner to the rail, and turn in the second screw 105107 from the outside. Hand-tight only.
- Bolt on the first backrest tube — Lay the flat end of a backrest tube against the inside of the right seat bar, with the tube rising at the back. Push bolt 105105 through from the outside and turn the nut 100716 onto it on the inside, by hand. Check: No spanner yet: you tighten this in step 12.
- Fit the back rail — Put the back rail (two dots) between the two back corners, its right end against the backrest tube's flat end. Fix it with a screw 105107 from the outside of the right frame. Check: The left end stays free for now: the second backrest tube slides in there next.
- Slide in the second backrest tube — Slide the flat end of the second backrest tube forward along the inside of the left seat bar, between the bar and the end of the back rail. Fix the back rail and tube with a screw 105107 from the outside.
- Bolt the second backrest tube — Push the second bolt 105105 through the left seat bar and the tube's flat end, and turn the nut 100716 on from the inside, by hand.
- Fit the lower front rail — Hold the rail with three dots between the front legs, below the seat bars, and fix it with two screws 105107, one from the outside of each leg.
- Push the backrest onto the tubes — Hold the backrest over the two tubes, curved side to the front, and push it straight down until the tube ends are fully inside it.
- Screw the backrest to the tubes — From behind, drive a screw 107399 through the backrest into each tube with a Phillips screwdriver.
- Fit the footrest at the back legs — Lift the footrest up between the legs, front bar to the front, so its rounded corners sit inside the front legs and its flat ends inside the back legs. Fix each flat end with a screw 120926 from the inside, by hand.
- Screw the footrest to the front legs — At each front corner of the footrest, turn a countersunk screw 117626 from the inside through the footrest into the front leg, by hand.
- Tighten the two bolts — Hold each nut 100716 with an adjustable spanner on the inside and tighten the bolt 105105 firmly from the outside with the Allen key.
- Tighten the six rail screws — Now tighten all six screws 105107 firmly with the Allen key: the top rail, the lower front rail and the back rail, on both sides.
- Tighten the footrest screws — Tighten the two screws 120926 at the back legs and the two countersunk screws 117626 at the front legs with the Allen key.
- Put the seat on and push it back — Set the seat on the frame with its front edge slightly raised and push it backwards until its back edge sits against the backrest tubes.
- Press the seat down until it clicks — Press the front of the seat down firmly until it clicks onto the frame at the front and the back.
- Done! — Your STIG bar stool is ready. It is tested for 100 kg. Check the screws now and then and tighten them again if the stool starts to wobble.
STIG bar stool with backrest: questions and answers
How long does it take to assemble the IKEA STIG bar stool with backrest?
About 25–35 min for 1 person, working through the 17 steps of this guide. Unpack and sort the hardware first: the In the box list has every part with its count, so you can check nothing is missing before you start.
What tools do I need for the STIG bar stool with backrest?
Allen key (included), Phillips screwdriver, adjustable spanner. Already in the box: Allen key.
Can one person assemble the STIG bar stool with backrest?
Yes, it is a one-person build.
What size is the STIG bar stool with backrest once assembled?
40×42 cm, seat height 63 cm, 90 cm high (15 3/4×16 1/2", seat 24 3/4", 35 3/8" high), as given for this model. Leave extra floor space around it while you build.
How many screws and fittings come with the STIG bar stool with backrest?
16 fittings of 6 kinds, the most numerous being 6 × screw, 2 × bolt, 2 × nut. The In the box table lists every one with its part number, so you can count them before you start.
Where can I download the IKEA STIG bar stool with backrest assembly instructions PDF?
The official PDF is manual AA-2236505-3, free from ikea.com; this guide links it next to the steps. To find the product page with its documents, search ikea.com for article number 806.524.31; other colours have their own numbers but usually the same manual.
Which IKEA manual is this guide based on?
The official manual AA-2236505-3. Manuals and fittings change over time, so compare this code with the one printed on your paper manual. If they differ, follow your paper manual.
What if a part or screw is missing?
Check every box and all the packaging first: small fittings are often taped inside. Each fitting in the In the box list has its IKEA part number (for example screw 105107). IKEA customer service can send replacement fittings using that number.
Related assembly guides
- IKEA MARIUS stool assembly instructions
- IKEA BEKVÄM step stool assembly instructions
- IKEA LÄTT children's table with 2 chairs assembly instructions
- IKEA FRANKLIN bar stool with backrest, foldable assembly instructions
- IKEA MAMMUT children's stool assembly instructions
- IKEA BRIMNES TV bench assembly instructions
- IKEA BESTÅ TV bench assembly instructions
- IKEA TROGEN children's step stool assembly instructions
All chairs & stools assembly guides · All furniture assembly guides
Stuck on a step? Common assembly problems and fixes · Furniture hardware explained