IKEA LINDÅSEN wall display shelf assembly instructions
How to assemble the IKEA LINDÅSEN wall display shelf, step by step: 8 animated steps built from the official manual, about 20–30 min for 1 person, with Allen key 100001 (included), wall screws and plugs to suit your wall (not included).
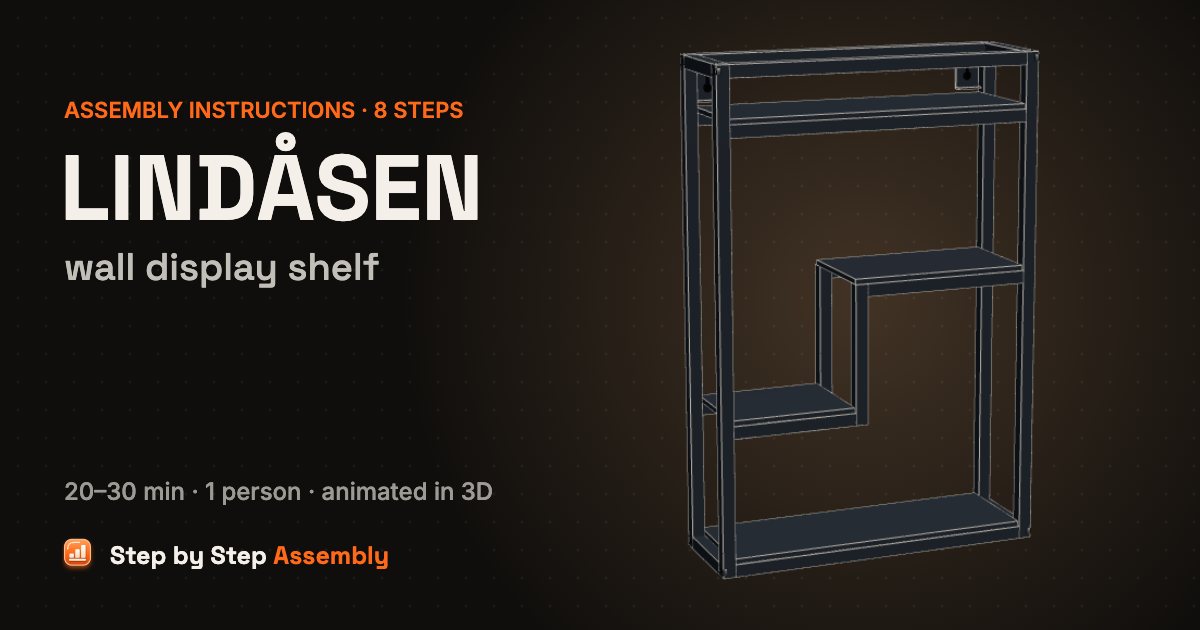
An anthracite steel display shelf with a stepped middle: two side frames screwed to four cross tubes, a pinned stepped unit inside and four lay-in shelves, hung by two keyhole brackets. Size: 40x60 cm. About 20–30 min, 1 person. Tools: Allen key 100001 (included), Wall screws and plugs to suit your wall (not included).
Based on the official IKEA manual AA-2333896-2 (PDF). Guide updated .
| Steps | 8 |
|---|---|
| Time | 20–30 min |
| People | 1 |
| Tools | Allen key 100001 (included), Wall screws and plugs to suit your wall (not included) |
| Size | 40x60 cm |
| Official manual | AA-2333896-2 |
| IKEA article number | 005.158.05 (anthracite) |
| Pieces in the box | 25 |
In the box
| Part | Part number | Quantity |
|---|---|---|
| Side frame | 2 | |
| Cross tube with 2 wall brackets | 1 | |
| Cross tube with end tabs | 3 | |
| Tube with pins | 2 | |
| Stepped frame | 2 | |
| Short connecting tube | 2 | |
| Large shelf | 2 | |
| Small shelf | 2 | |
| Screw | 10093087 | 8 |
| Allen key | 100001 | 1 |
Steps
- First tube with the wall brackets — Stand one side frame on its long edge. Take the tube with the 2 keyhole brackets, hook its bracket into the slot at the lower left corner of the frame, then screw it on from the outside of the frame with 1 screw (10093087) and the Allen key.
- Three more tubes, then turn it over — Fit the other 3 corner tubes the same way: use the tubes with flat end tabs, not the plain tubes or the ones with pins. Fix each with 1 screw (10093087). Then turn the frame over so it lies flat with the 4 tubes pointing up. Check: Only the tubes with flat end tabs go in the corners.
- Join the two stepped frames — Lay one stepped frame flat. Push the 2 short plain tubes down onto its ribbed plugs (not the long tubes with pins), then press the second stepped frame down onto the top of the 2 short tubes. Check: Use the 2 short plain tubes here. The long tubes with pins go in the next step.
- Pinned tubes and stepped unit — Push the pins of the 2 long tubes into the 2 holes near the top end of the lower frame. Then stand the stepped unit up and push its 2 lower pins into the holes in the middle of the same frame.
- Second side frame on top — Lower the second side frame onto the tubes: the pins go into its holes and the wall bracket hooks into its slot. Fix it to the 4 corner tubes with 4 screws (10093087) and the Allen key.
- Stand it up and add the shelves — Tip the frame up onto its end and turn it round so the front faces you. Lay the 4 shelves in from the front and lower them onto their tubes: the large one under the top, the small ones on the upper and lower steps, and the other large one at the bottom.
- Hang it on the wall — Hold the shelf aside. It must be fixed to the wall: the manual draws no wall fixing, so use 2 screws (with plugs if needed) that suit your wall (not included). Lift the shelf up to the wall, put the 2 keyhole brackets over the screw heads and let it drop down into the slots. Check: Wall screws and plugs are not included. Ask your local hardware shop which ones suit your wall.
- Done! — Your LINDÅSEN display shelf is on the wall. It holds up to 10 kg in total.
LINDÅSEN wall display shelf: questions and answers
How long does it take to assemble the IKEA LINDÅSEN wall display shelf?
About 20–30 min for 1 person, working through the 8 steps of this guide. Unpack and sort the hardware first: the In the box list has every part with its count, so you can check nothing is missing before you start.
What tools do I need for the LINDÅSEN wall display shelf?
Allen key 100001 (included), wall screws and plugs to suit your wall (not included). Already in the box: Allen key 100001.
Can one person assemble the LINDÅSEN wall display shelf?
Yes, it is a one-person build.
Does the LINDÅSEN wall display shelf need to be fixed to the wall?
The manual shows a wall fixing: see step 1 (First tube with the wall brackets) and step 5 (Second side frame on top). Use screws and plugs that suit your wall (wood, brick, concrete or plasterboard), and ask at a hardware store if you are not sure. Tall furniture and drawer units that are not fixed to the wall can tip over.
What size is the LINDÅSEN wall display shelf once assembled?
40x60 cm, as given for this model. Leave extra floor space around it while you build.
Where can I download the IKEA LINDÅSEN wall display shelf assembly instructions PDF?
The official PDF is manual AA-2333896-2, free from ikea.com; this guide links it next to the steps. To find the product page with its documents, search ikea.com for article number 005.158.05 (anthracite); other colours have their own numbers but usually the same manual.
Which IKEA manual is this guide based on?
The official manual AA-2333896-2. Manuals and fittings change over time, so compare this code with the one printed on your paper manual. If they differ, follow your paper manual.
What if a part or screw is missing?
Check every box and all the packaging first: small fittings are often taped inside. Each fitting in the In the box list has its IKEA part number (for example screw 10093087). IKEA customer service can send replacement fittings using that number.
Related assembly guides
- IKEA BILLY bookcase assembly instructions
- IKEA KALLAX shelf unit 2x4 assembly instructions
- IKEA BESTÅ frame assembly instructions
- IKEA HYLLIS shelving unit (in/outdoor) assembly instructions
- IKEA LACK wall shelf assembly instructions
- IKEA VESKEN shelf unit assembly instructions
- IKEA EKET cabinet assembly instructions
- IKEA BRIMNES bookcase assembly instructions
All bookcases & shelves assembly guides · All furniture assembly guides
Stuck on a step? Common assembly problems and fixes · Furniture hardware explained