IKEA TISKEN corner shelf unit with suction cup assembly instructions
How to assemble the IKEA TISKEN corner shelf unit with suction cup, step by step: 7 animated steps built from the official manual, about 5 min for 1 person, with tile or glass cleaner, 2 clean cloths.
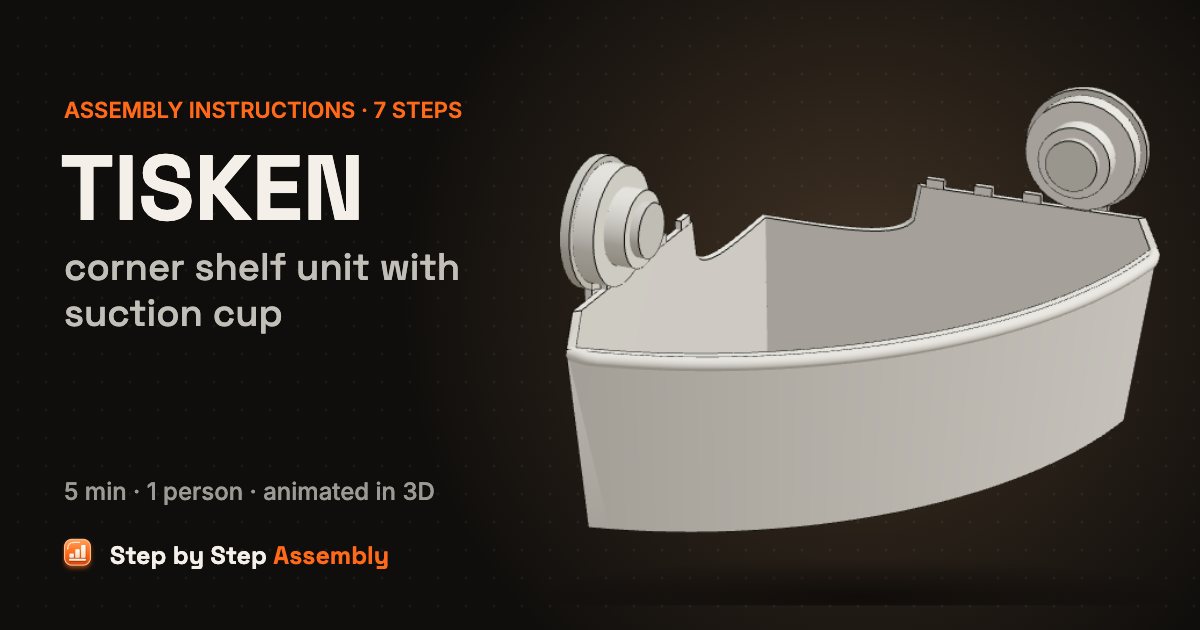
A small white bathroom corner basket that needs no drilling: two suction-cup holders click onto its back and press onto clean, dry tiles. Size: 30x20x17 cm. About 5 min, 1 person. Tools: Tile or glass cleaner, 2 clean cloths.
Based on the official IKEA manual AA-2347467-1 (PDF). Guide updated .
| Steps | 7 |
|---|---|
| Time | 5 min |
| People | 1 |
| Tools | Tile or glass cleaner, 2 clean cloths |
| Size | 30x20x17 cm |
| Official manual | AA-2347467-1 |
| IKEA article number | 204.003.04 (white) |
| Pieces in the box | 3 |
In the box
| Part | Part number | Quantity |
|---|---|---|
| Corner basket | 1 | |
| Suction-cup holder (with protective film) | 2 |
Steps
- Clean the tiles — Choose a corner with smooth tiles or glass. Spray cleaner where each suction cup will go, one spot on each wall at the height you want the shelf, and wipe away all soap, grease and dirt with a cloth. Check: Suction cups only hold on smooth, non-porous surfaces such as glazed tiles or glass. Not on wood.
- Dry the tiles — Wipe both spots completely dry with a clean, dry cloth. Any water or cleaner left on the tile stops the suction cups from holding.
- Click the holders onto the basket — Hold a suction-cup holder against the outside of one raised back panel, cup facing outwards, and push it down over the notched top edge until it clicks. Click the second holder onto the other back panel the same way. Check: The holders can sit at different notches along the top edge. Choose spots where each cup will land fully on one tile.
- Peel off the protective films — Peel the protective film off the flat back of each suction cup: that is the side that goes against the wall.
- Press the left cup onto the wall — Hold the basket level in the corner at the height you want, back edges to the walls. Press the left suction cup flat against the tile with your palm until it grips. Check: Each cup must sit fully on one tile, not across a grout line.
- Press the right cup onto the wall — Keep the basket level and press the right suction cup flat against the other wall with your palm until it grips. Check: Max load 3 kg.
- Done! — Your TISKEN corner shelf is up. Max load 3 kg. To clean the basket, unclip it from the holders and lift it out while the cups stay on the wall. To take a cup off, slide a thin card under its edge to let the air in.
TISKEN corner shelf unit with suction cup: questions and answers
How long does it take to assemble the IKEA TISKEN corner shelf unit with suction cup?
About 5 min for 1 person, working through the 7 steps of this guide. Unpack and sort the hardware first: the In the box list has every part with its count, so you can check nothing is missing before you start.
What tools do I need for the TISKEN corner shelf unit with suction cup?
Tile or glass cleaner, 2 clean cloths.
Can one person assemble the TISKEN corner shelf unit with suction cup?
Yes, it is a one-person build.
What size is the TISKEN corner shelf unit with suction cup once assembled?
30x20x17 cm, as given for this model. Leave extra floor space around it while you build.
Where can I download the IKEA TISKEN corner shelf unit with suction cup assembly instructions PDF?
The official PDF is manual AA-2347467-1, free from ikea.com; this guide links it next to the steps. To find the product page with its documents, search ikea.com for article number 204.003.04 (white); other colours have their own numbers but usually the same manual.
Which IKEA manual is this guide based on?
The official manual AA-2347467-1. Manuals and fittings change over time, so compare this code with the one printed on your paper manual. If they differ, follow your paper manual.
Related assembly guides
- IKEA BILLY bookcase assembly instructions
- IKEA KALLAX shelf unit 2x4 assembly instructions
- IKEA BESTÅ frame assembly instructions
- IKEA HYLLIS shelving unit (in/outdoor) assembly instructions
- IKEA LACK wall shelf assembly instructions
- IKEA VESKEN shelf unit assembly instructions
- IKEA EKET cabinet assembly instructions
- IKEA BRIMNES bookcase assembly instructions
All bookcases & shelves assembly guides · All furniture assembly guides
Stuck on a step? Common assembly problems and fixes · Furniture hardware explained