IKEA VESKEN corner shelf unit assembly instructions
How to assemble the IKEA VESKEN corner shelf unit, step by step: 7 animated steps built from the official manual, about 10 min for 1 person, no tools needed.
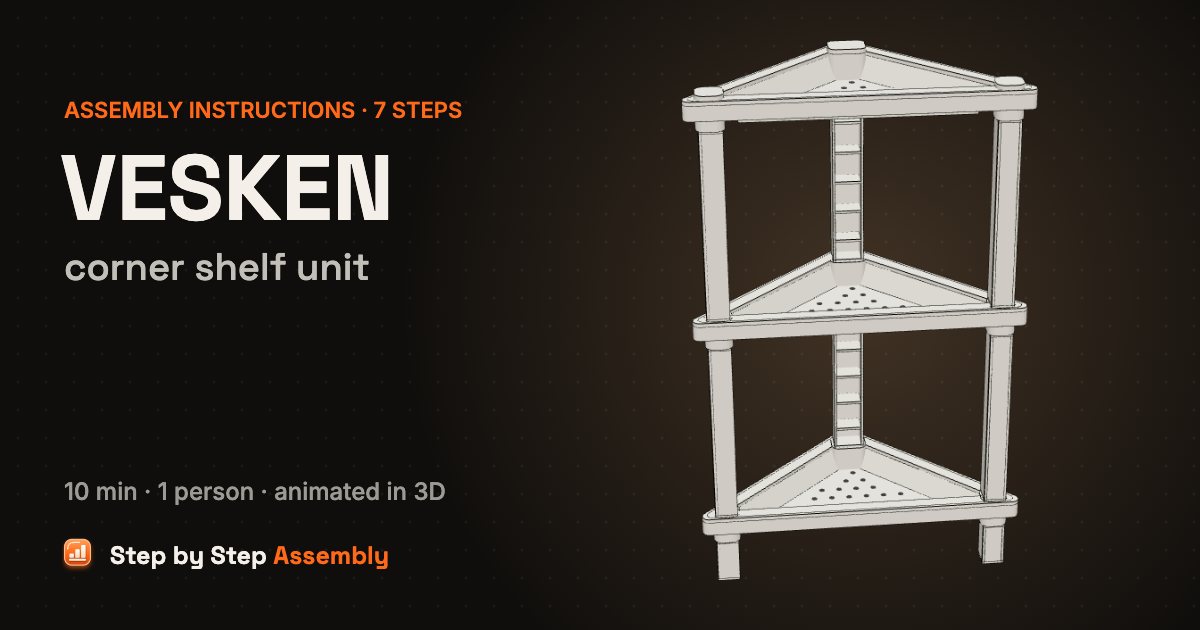
A small three-shelf corner unit in white moulded plastic for the bathroom: triangular perforated shelves, feet, legs and caps simply click together, no tools needed. Size: 33x33x71 cm. About 10 min, 1 person. Tools: No tools needed.
Based on the official IKEA manual AA-2203928-1 (PDF). Guide updated .
| Steps | 7 |
|---|---|
| Time | 10 min |
| People | 1 |
| Tools | No tools needed |
| Size | 33x33x71 cm |
| Official manual | AA-2203928-1 |
| IKEA article number | 704.710.92 (white) |
| Pieces in the box | 15 |
In the box
| Part | Part number | Quantity |
|---|---|---|
| Corner shelf (perforated tray) | 3 | |
| Front leg | 4 | |
| Back corner leg (wide, ribbed) | 2 | |
| Front foot (short leg) | 2 | |
| Back corner foot | 1 | |
| Front cap | 2 | |
| Back corner cap | 1 |
Steps
- Feet into the first shelf — Hold one shelf up with the tub facing up. Push a foot up into the hole under each of its 3 corners until it is firmly in. The wide foot goes in the back (right-angled) corner, with its open side facing the front.
- First 3 legs — Push a leg straight down into each corner of the shelf until it clicks. The wide ribbed leg goes in the back corner with its ribs facing the front; the smooth sides of the front legs face out. Check: Each leg has a spring catch at its bottom end: it presses in as the leg goes down and clicks out when the leg is home. Listen for the click on every leg.
- Second shelf — Lower the second shelf, tub facing up and back corner over the wide leg, level onto the 3 legs so each leg's tab goes into a corner. Press it down until it sits firmly on all 3.
- Next 3 legs — Click 3 more legs down into the corners of the second shelf, turned the same way as the legs below them: the wide ribbed one in the back corner. Check: Each leg must click in.
- Top shelf — Lower the last shelf level onto the legs, back corner over the wide leg, then press it down onto all 3 tabs.
- Caps on top — Push a cap into the hole on top of each corner of the top shelf: the 2 small caps at the front, the wide cap in the back corner.
- Done! — Your VESKEN corner shelf unit is assembled. Stand it in a corner with the two short sides against the walls.
VESKEN corner shelf unit: questions and answers
How long does it take to assemble the IKEA VESKEN corner shelf unit?
About 10 min for 1 person, working through the 7 steps of this guide. Unpack and sort the hardware first: the In the box list has every part with its count, so you can check nothing is missing before you start.
What tools do I need for the VESKEN corner shelf unit?
No tools. Everything fits together by hand.
Can one person assemble the VESKEN corner shelf unit?
Yes, it is a one-person build.
What size is the VESKEN corner shelf unit once assembled?
33x33x71 cm, as given for this model. Leave extra floor space around it while you build.
Where can I download the IKEA VESKEN corner shelf unit assembly instructions PDF?
The official PDF is manual AA-2203928-1, free from ikea.com; this guide links it next to the steps. To find the product page with its documents, search ikea.com for article number 704.710.92 (white); other colours have their own numbers but usually the same manual.
Which IKEA manual is this guide based on?
The official manual AA-2203928-1. Manuals and fittings change over time, so compare this code with the one printed on your paper manual. If they differ, follow your paper manual.
Related assembly guides
- IKEA VESKEN shelf unit assembly instructions
- IKEA VESKEN trolley assembly instructions
- IKEA BILLY bookcase assembly instructions
- IKEA KALLAX shelf unit 2x4 assembly instructions
- IKEA BESTÅ frame assembly instructions
- IKEA HYLLIS shelving unit (in/outdoor) assembly instructions
- IKEA LACK wall shelf assembly instructions
- IKEA EKET cabinet assembly instructions
All IKEA VESKEN assembly guides · All bookcases & shelves assembly guides · All furniture assembly guides
Stuck on a step? Common assembly problems and fixes · Furniture hardware explained